10 Best Summer Nail Looks
- OPI – Suzi Without a Paddle – Who needs one when you’re up a creek with this cool and tranquil blue? Step 1 Prime – Apply one coat of the Primer Base Coat to prepared nails. Step 2 Apply two coats of Infinite Shine color. Wait two minutes after second Lacquer coat to apply Gloss Top Coat. Step 3 Gloss – Finish with one coat of Gloss for a durable finish that cures to a mirror shine in natural light.
- ESSIE – Topless & Barefoot – Sand beaches and coral reefs are calling. start a love affair with this beautiful, bare pink mani. step 1: hydrate with apricot cuticle oil. step 2: clean then prep nails with an essie base coat. step 3: apply 2 coats of topless and barefoot. let dry. step 4: shine + seal with an essie top coat.
- ESSIE – Fairy Tailor – step 1: apply 2 coats of luxurious color in fairy tailor. allow 60 seconds to dry between coats. step 2: seal with gel couture top coat for flawless gel-like shine. no UV or LED lamps needed
- ESSIE – Garden Variety – Turn your green thumb tropical with this creamy, eye-catching teal. step 1: hydrate with apricot cuticle oil. step 2: clean then prep nails with an essie base coat. step 3: apply 2 coats of garden variety. let dry. step 4: shine + seal with an essie top coat.
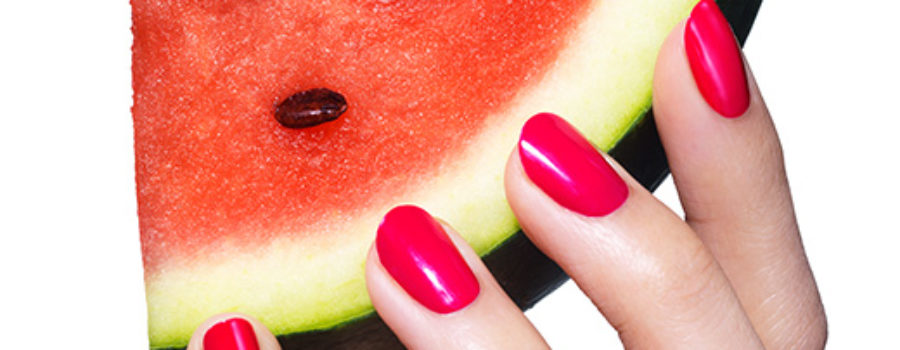
- ESSIE – Flirty & Chic – This sweet ripe color is always in season. step 1: hydrate with apricot cuticle oil. step 2: clean then prep nails with an essie base coat. step 3: apply 2 coats of watermelon. let dry. step 4: shine + seal with an essie top coat.
- Essie – Ombre Whisper – Simple graphic ombre nail art design featuring new wild nudes collection shades for beginners. 1. apply a thin layer of essie color corrector for nails. 2. using a piece of cosmetic wedge, dab mooning onto the nail tips, going about halfway down the nail. 3. paint stripes of mooning and winning streak on your cosmetic wedge to create a “stamp”. 4. press the stamp onto the nail tip to make the ombré design. 5. apply a coat of skinny dip to help soften and blend the colors together, then seal with essie good to go top coat.
- OPI – Don’t Take Yosemite For Granite – Of quartz not! Everyone appreciates this shimmering slate. Step 1 Prime – Apply one coat of the Primer Base Coat to prepared nails. Step 2 Apply two coats of Infinite Shine color. Wait two minutes after second Lacquer coat to apply Gloss Top Coat. Step 3 Gloss – Finish with one coat of Gloss for a durable finish that cures to a mirror shine in natural light.
- OPI – Malibu Pier Pressure – This cotton candy pink has a very persuasive vibe. Step 1 • Prime – Apply one coat of the Primer Base Coat to prepared nails. Step 2 • Apply two coats of color. Wait two minutes after second Lacquer coat to apply Gloss Top Coat. Step 3 • Gloss – Finish with one coat of Gloss for a durable finish that cures to a mirror shine in natural light.
- OPI – Coconuts Over OPI – Go native and do Fiji in the buff with our subtle and toasty taupe. Step 1 Prime – Apply one coat of the Primer Base Coat to prepared nails. Step 2 Apply two coats of Infinite Shine color. Wait two minutes after second Lacquer coat to apply Gloss Top Coat. Step 3 Gloss – Finish with one coat of Gloss for a durable finish that cures to a mirror shine in natural light.
- OPI Fire & Ice – Apply one coat OPI Infinite Shine PRIMER Base Coat and let dry. Apply two coats of Infinite Shine Reykjavik Has All the Hot Spots Using Infinite Shine That’s What Friends are Thor and a detailing brush, create a “V” half way down the nail and fill. Using Infinite Shine Less is Norse and a detailing bush, color block the right side of the “V” and fill. Finish with OPI Infinite Shine GLOSS Top Coat and let dry.


